Branding Techniques
Digital Printing
What is it?
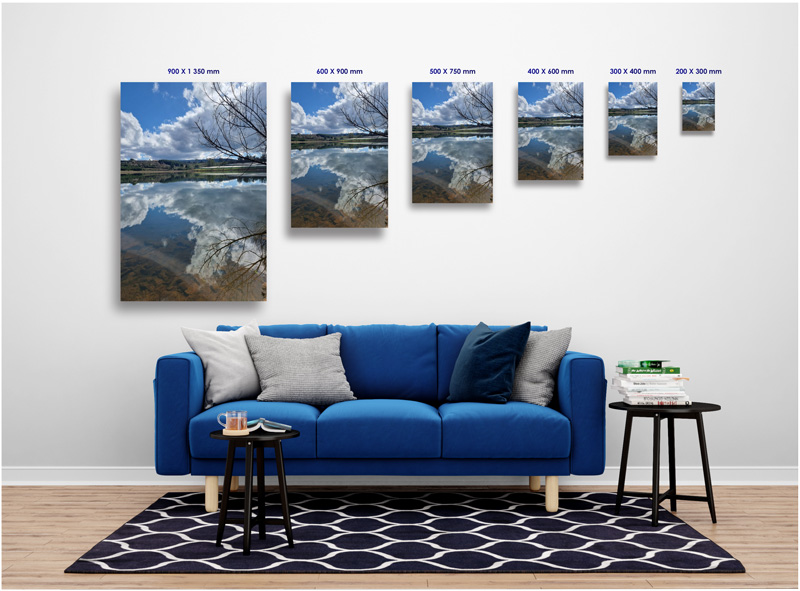
Digital vinyl printing uses wide-format inkjet printing machines to reproduce long-lasting, high-quality, full-colour designs, images or text. During the vinyl printing process the artwork is created digitally and then printed onto a vinyl sheet using a wide-format printer that uses UV-curable inks.
Benefits
Designed to last – vinyl printing uses durable, waterproof, scratch-resistant inks, which means it’s perfect for creating a wide variety of internal and external signage.
How does it work?
Step 1
Your digital image is carefully printed.
Step 2
Print is hung out for 24 hours for the ink to cure.
Step 3
Overlaminate film is applied where needed to protect your graphics from abrasion, chemicals, and UV exposure.
Step 4
The print is shaped and prepared for application / installation.
Cut Out Vinyl
What is it?
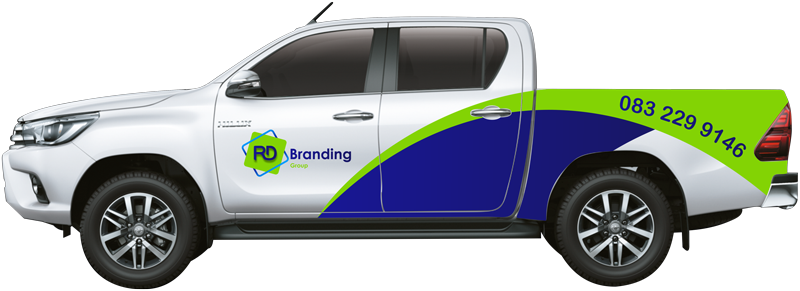
Vinyl stickers differ from printed stickers in that the vinyl is cut out from a solid-coloured roll of vinyl.
Benefits
Vinyl stickers are durable and robust. Custom vinyl stickers offer high-quality adhesiveness and are fade-, scratch-, UV-, water-, and tear-resistant. Vinyl stickers and decals are suitable for outdoor use on various public displays to advertise your business, products, or services.
How does it work?
Step 1
The vinyl is cut out from a solid-coloured roll of vinyl.
Step 2
Next the excess is weeded away.
Step 3
The remaining cut images are pre-spaced and are held together using a temporary application tape.
Heat Press

What is it?
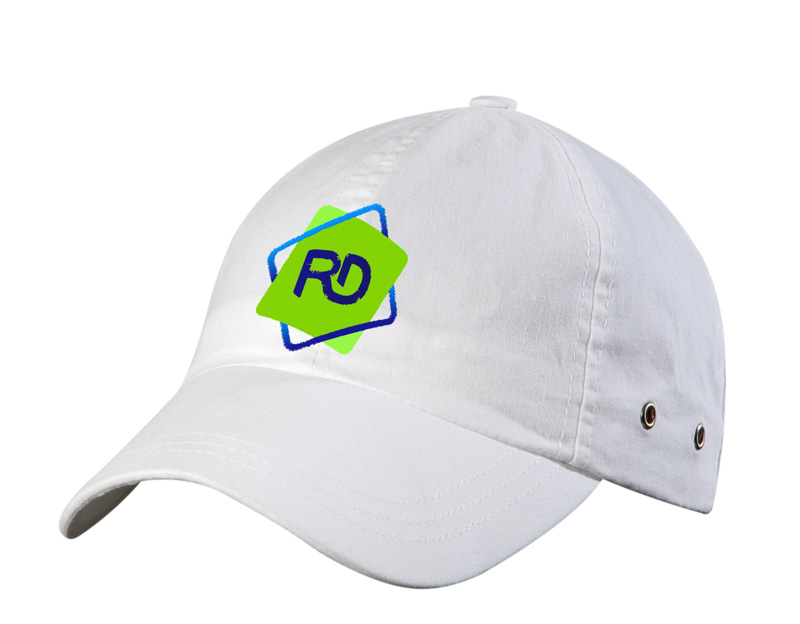
Your digital image is printed onto a heat-activated vinyl surface and once placed into the branding machine, the heat melts the adhesive backing and transfers the logo directly onto your product.
Benefits
Versatile branding method that can be used on a variety of fabrics and materials. Ideal for designs with various colours, intricate designs or small wording.
Please Note: The vinyl is not cut to the shape of the design, and it, therefore, limits the flexibility of the logo when printed onto fabric which might result in creased lines.
Ideal for bags, clothing and headwear.
How does it work?
Step 1
Your digital image is carefully printed onto a special vinyl surface with an adhesive backing.
Step 2
Your design is positioned face-down onto your product.
Step 3
Then your product is placed into a heated machine that presses the vinyl directly onto your product. This is where the term ‘Heat Press’ comes from.
Step 4
Heat from the machine melts the adhesive backing from the vinyl, and merges it with the surface of your product, branding it with your logo.
Sublimation
What is it?
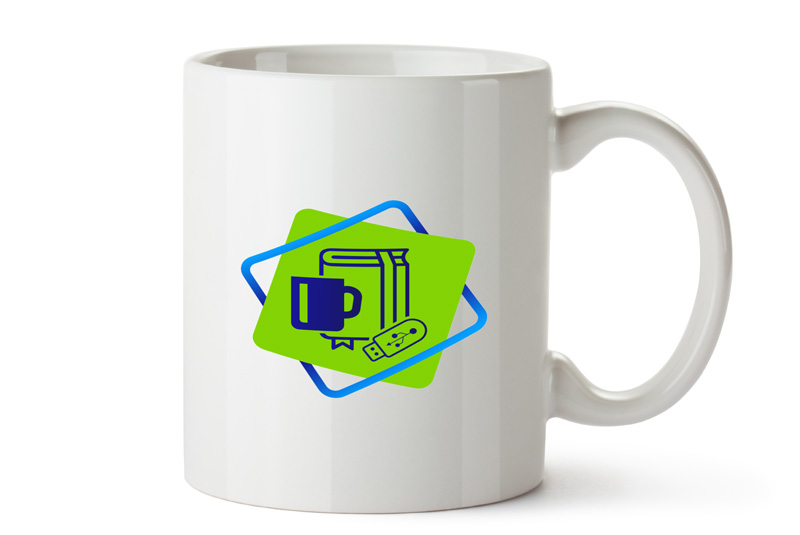
Your logo is digitally printed with full colour onto special transfer paper that’s cut to size and branded onto your product by means of heat.
Benefits
Ensures realistic full-colour prints and flexibility of the product is not compromised, unlike which is possible with heat press.
Please Note: Only suitable for white products made from at least 60% polyester and products coated with a polymer.
How does it work?
Step 1
Your design is printed onto special transfer paper by means of a digital full-colour printer and is automatically cut to the correct shape.
Step 2
The transfer paper is placed onto your product in the desired branding location.
Step 3
Heat is then applied which causes the ink to move from the paper to the product, therefore branding it with your design.
Domed Sticker

What is it?
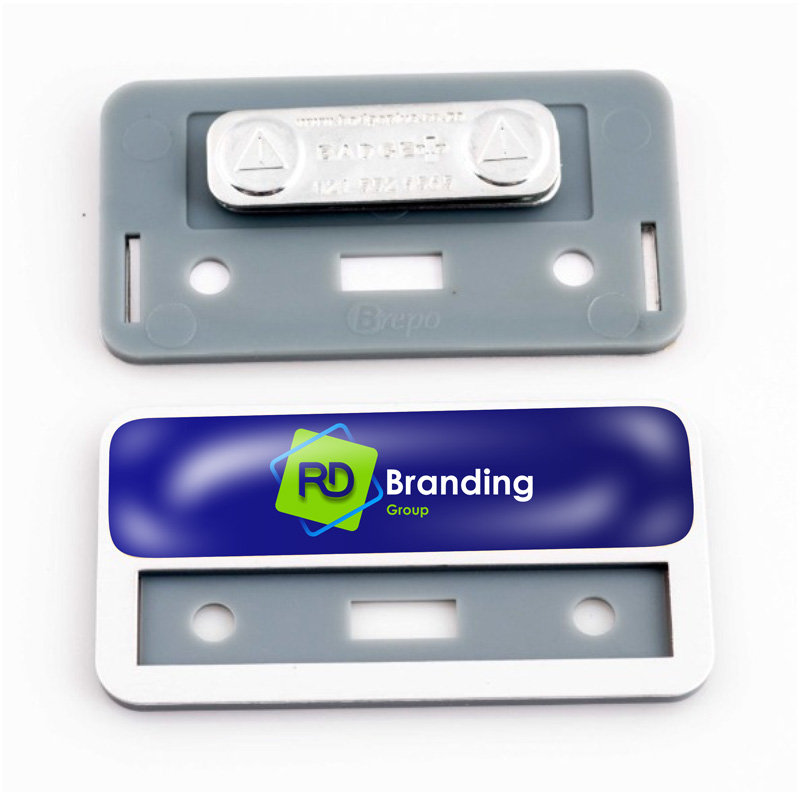
Your logo is digitally printed on adhesive vinyl, cut to shape and size and then coated with a clear polyurethane resin to give it a 3D appearance.
Benefits
Perfect for logos with multiple colours that are hard to replicate by other means of branding. Can be used on both smooth and rigid surfaces.
Ideal for products with a purpose-made recessed plaque.
How does it work?
Step 1
Your design is digitally printed in full colour on vinyl material with a strong adhesive backing.
Step 2
The vinyl is cut to shape and size as per the specifications.
Step 3
It is coated with a polyurethane resin to give it its 3D appearance and to also act as a protective layer.
Step 4
Once dried, the finished dome sticker is then applied to your product.
Embroidery
What is it?
It is the art of decorating fabric with designs with strands of thread. In the case of branding, it is done by computers that read digital formats of your design and then recreating it directly onto your product.
Benefits
A classic decoration technique that creates a high-value look. Can be done for both single and multi-colour logos. Is suitable for branding of both flat and curved surfaces.
Ideal for any type of clothing and headwear items, like shirts or peak caps, as well as other textile gifts like bags.
How does it work?
Step 1
Your design is loaded onto the computer in a digital format.
Step 2
The computer then reads the digitised embroidery file and the embroidery machines automatically recreate the design.
Step 3
Your item is carefully positioned onto the machine in the desired branding location.
Step 4
The machine then gets to work, branding your product one colour thread at a time to create a stitched pattern of your logo.
Step 5
Once the embroidery machine has completed its job, your product is removed.
Step 6
Any stray strands of thread are clipped and your branded product is ready.